One of the most exciting times of the year is when we can start to feel winter winding down and we can get our garden starts going. Mr. B gets pretty bad cabin fever, and this always perks him right up. Admittedly I get less cabin fever because fall and winter are my busiest times at work, so I enjoy a bit of hibernation on the weekends when I can find the time. But it always feels like spring is right around the corner when we start planning our garden and getting our seeds started. For our climate, the first weekend in March seems to be the best time to start our tomatoes and peppers indoors. We have had frost at our place every single month of the year, so we aim for an early- to mid-June planting for the best success.
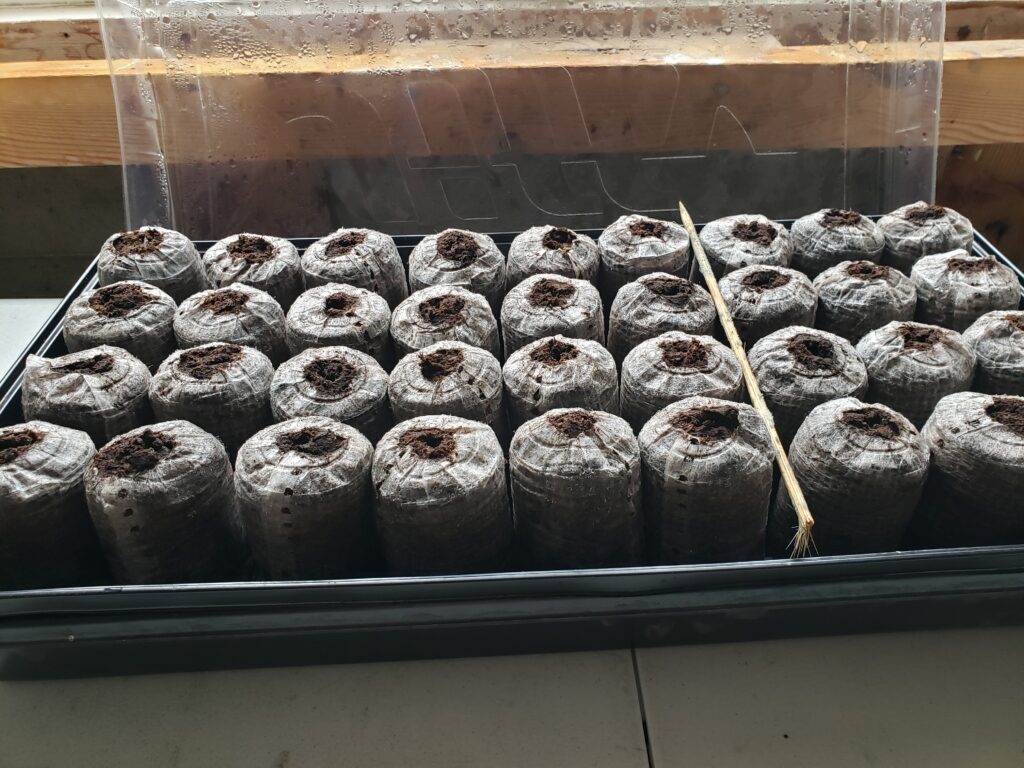
We have tried a handful of different approaches, but the most successful system we’ve found is name-brand Jiffy Pods in the 50mm diameter size. We reuse the trays every year, so we just buy bulk packages of the pods themselves. We have tried different kinds but have always had the best success with the name-brand ones.
A few important notes:
-We have found that it’s best the first year to buy the actual Jiffy Pod trays. The pods have the most stability when they are placed in the more structured tray.
-The trays, however, get flimsy over time, especially when they are full of growing tomato plants and heavy soil. We have acquired much sturdier trays that the Jiffy trays stack into. We have learned our lesson after some disasters trying to carry around the flimsy trays and having them crack and break when full of baby plants. The heavy-duty trays hold up well year after year and keep us from having any plant disasters all over the kitchen floor.
-After the pods are all in place, it’s crucial to keep adding water to the tray and let them expand fully on their own. It takes a lot of patience, and sometimes a full day before they are fully ready for seeds. When we have tried to rush the process, we have ripped the netting and gotten uneven hydration of the pods, so they tip over and never quite turn out how we want them to. We wait until the tops are domed and the soil looks hydrated throughout the expanded pod. Patience is key!
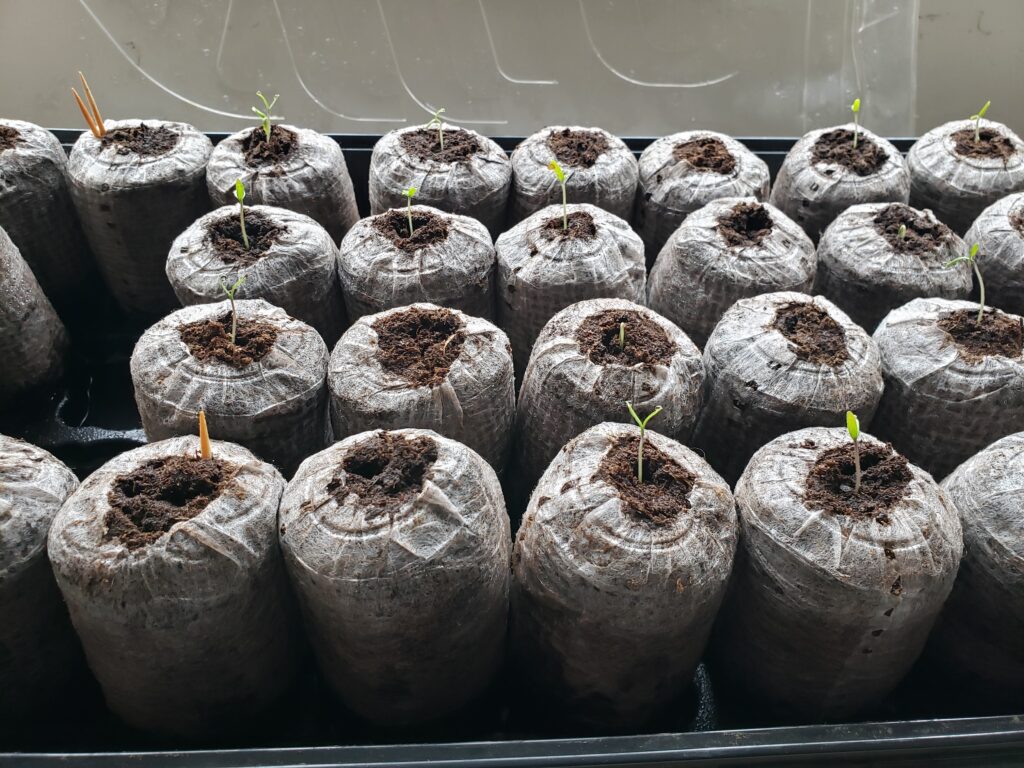
-We plant 1-2 seeds/pod and make sure to note what is what. It’s easy to distinguish the peppers from the tomatoes, but we plant multiple types of tomatoes and peppers, and it’s easiest if we keep them all like-with-like when we go to plant them in the garden.
-I take a lot of notes on our starts in the Homestead Management Book I’ve created, noting how many pods of each type of plant, the brand of seeds, the planting date, the emergence date, and survival rate. We always plant a few extra pods, but if they all miraculously survive, it’s really difficult to have self-restraint and not just plant them all in the garden, even if that wasn’t the plan and we don’t have the best spacing. Hence one year we ended up with 53 tomato plants.
Then it’s time to cover them, put them in a sunny spot, and wait for the magic to happen! Be careful of overwatering, as it’s easy to do at this stage and can cause mold to grow in the little mini pod-greenhouses.